Video editors and the majority of freelancers spend a lot on stock images for their clients. Purchasing new images for each project becomes costly too quickly, particularly when dealing with many clients.
This makes the cost of the editing process higher and more time-consuming. A convenient method is to utilise AI-created photos in CapCut Desktop Video Editor. Using this software, you are able to create customised images that match your client’s needs without extra cost.
AI pictures are time-saving and allow you to create distinctive visuals for specific projects. This tutorial will show how employing CapCut PC can replace costly stock photos and speed up client edits, making it faster, easier, and more professional.
AI Image Generator on CapCut PC
CapCut Desktop Video Editor also comes with a built-in AI image generator, which enables you to make your own custom photos easily. Rather than browsing online stock images or purchasing costly pictures, you can do visuals inside the editor.
You can use the tool by writing a description of the image that you want, selecting the style, and receiving your own custom photo in seconds.
The advantage of applying this AI image generator is that it is cost and time-effective. You will not have to waste countless hours searching for the best image or buy several stock images.
You can also make images that are your client’s brand, colours, or style precisely. This makes your projects professional and client-based.
Although CapCut PC provides this function free of charge, there are some of its high-level AI image features that are paid for. Even so, you can still use the basic functions without paying, but for more superior images or unique styles, you will be charged.
Advantages of Utilising AI Images for Client Edits
Having AI-generated images in CapCut Desktop Video Editor has numerous advantages in client work. First, it is cost-effective since you do not have to purchase a lot of stock images. Secondly, it is completely personalised.
You can personalise the images to make them perfect for the client’s business, colour, and personality. Other works can also be enhanced by applying an AI avatar to incorporate a personal touch or business personality to your work.
It also quickens your workflow. Rather than dedicating hours to finding a similar stock image, you can create a flawless image in seconds. You can experiment with various versions of an image until it matches the client’s requirements.
Legal problems are avoided because you create your own images, and there is no issue of stock licensing. Lastly, CapCut PC enables you to edit, animate, or insert these AI photos into your video projects with a smooth outcome.
How to Substitute Stock Images with AI Images in CapCut PC
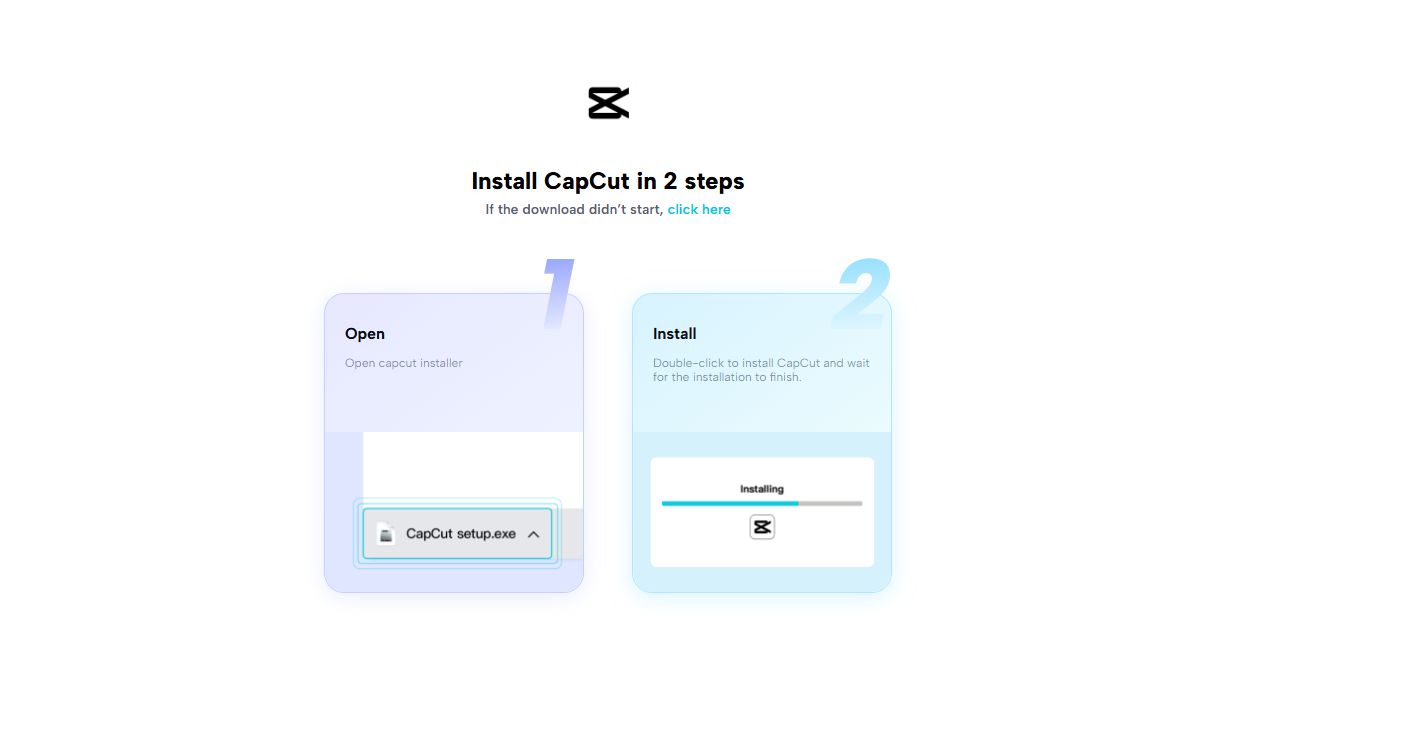
Step 1: Install CapCut Desktop Video Editor
Start by downloading CapCut Desktop Video Editor from its official site only. Avoid other sources for security and appropriate updates. After downloading, carefully go through the installation process on your PC.
Note that CapCut PC is not entirely free. Some advanced functions, like some of the AI tools, will be paid. After successful installation, create an account to use all the features. Make sure your PC is compatible with the system requirements to edit easily.
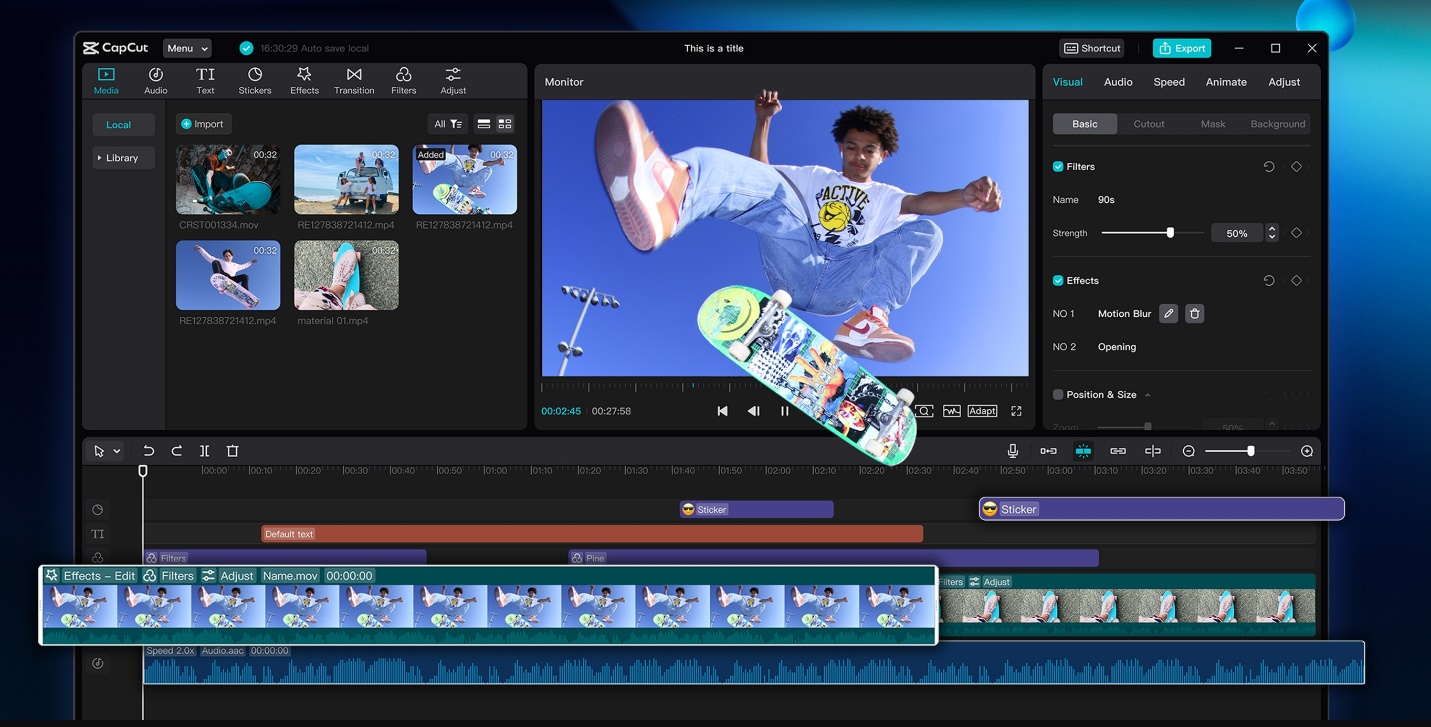
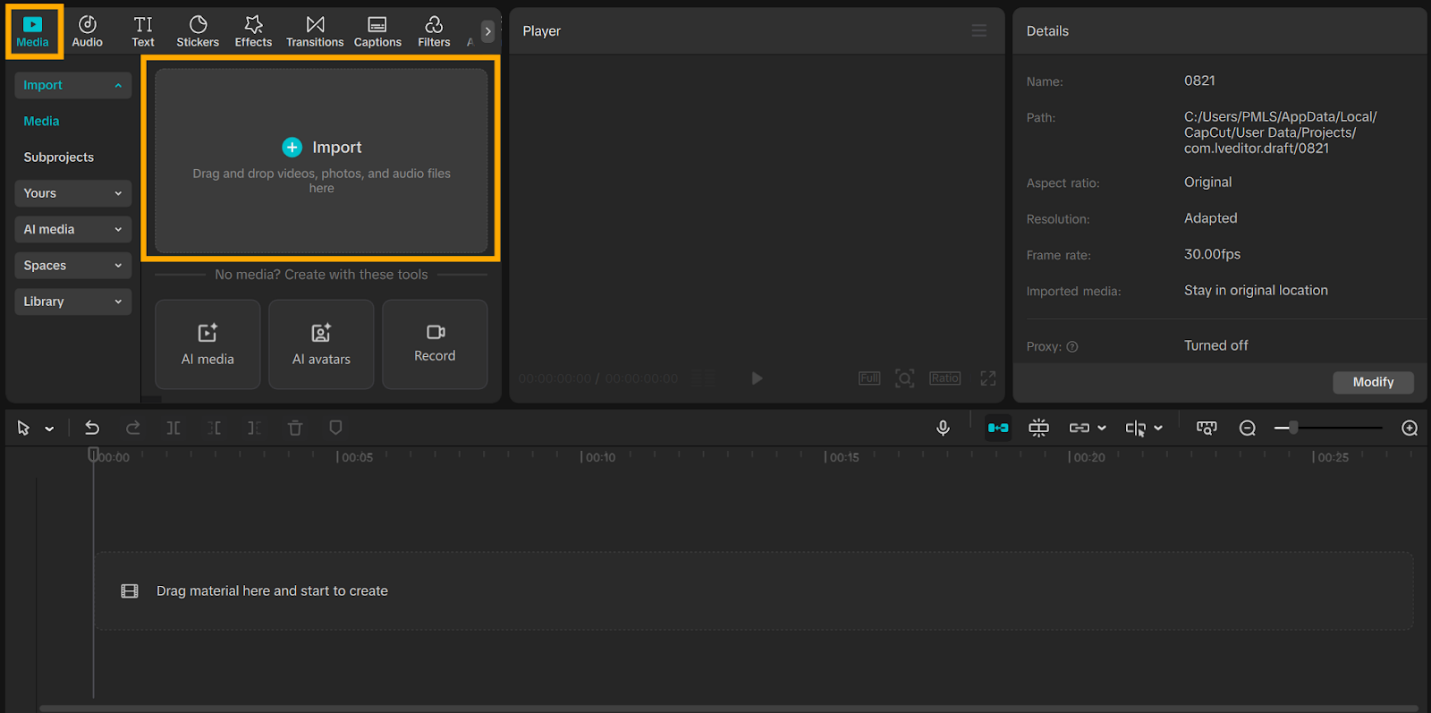
Step 2: Import Your Project or Video
Open CapCut PC and either create a new project or import an existing one. Supported formats include JPG and PNG for images, and MP4 or MOV for videos. Make sure your media files are compatible before starting edits.
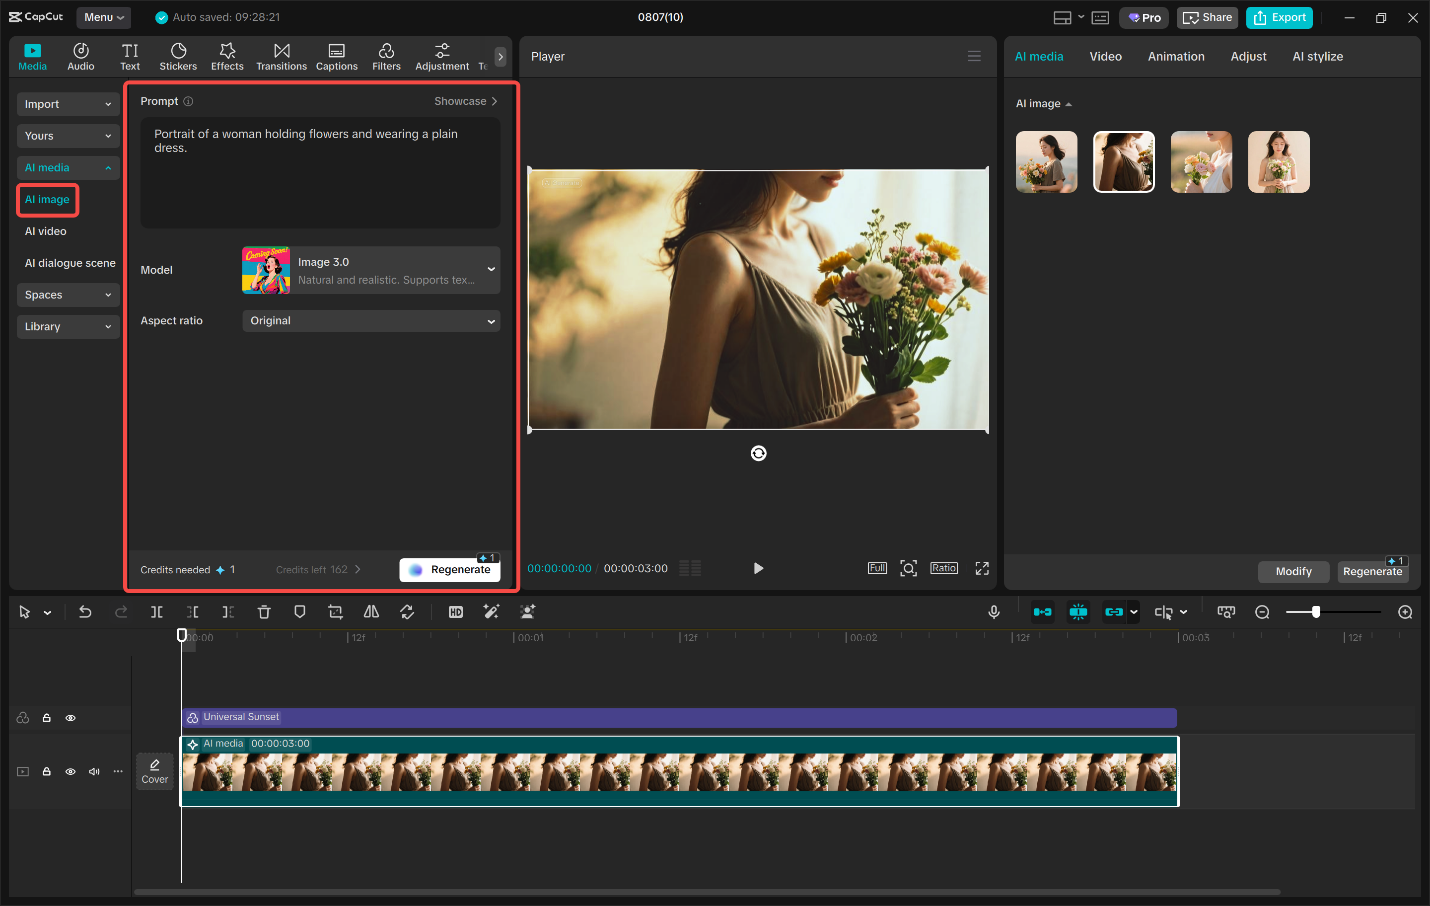
Step 3: Generate AI Images
On the side panel, open the AI Image Generator tool. Create the visuals you need by typing a short description, then set the aspect ratio.
After generating, replace old stock photos by cropping them from the video, removing their backgrounds, and inserting your new AI images. This way, you refresh the project with original content designed exactly for your client’s needs.
Step 4: Replace Stock Photos in Project
Drag the generated images into your timeline. Resize, crop, and align them to match the video flow. Apply filters, effects, or light animations for polish. If needed, add AI avatars to highlight branding or integrate client-specific details into the visuals.
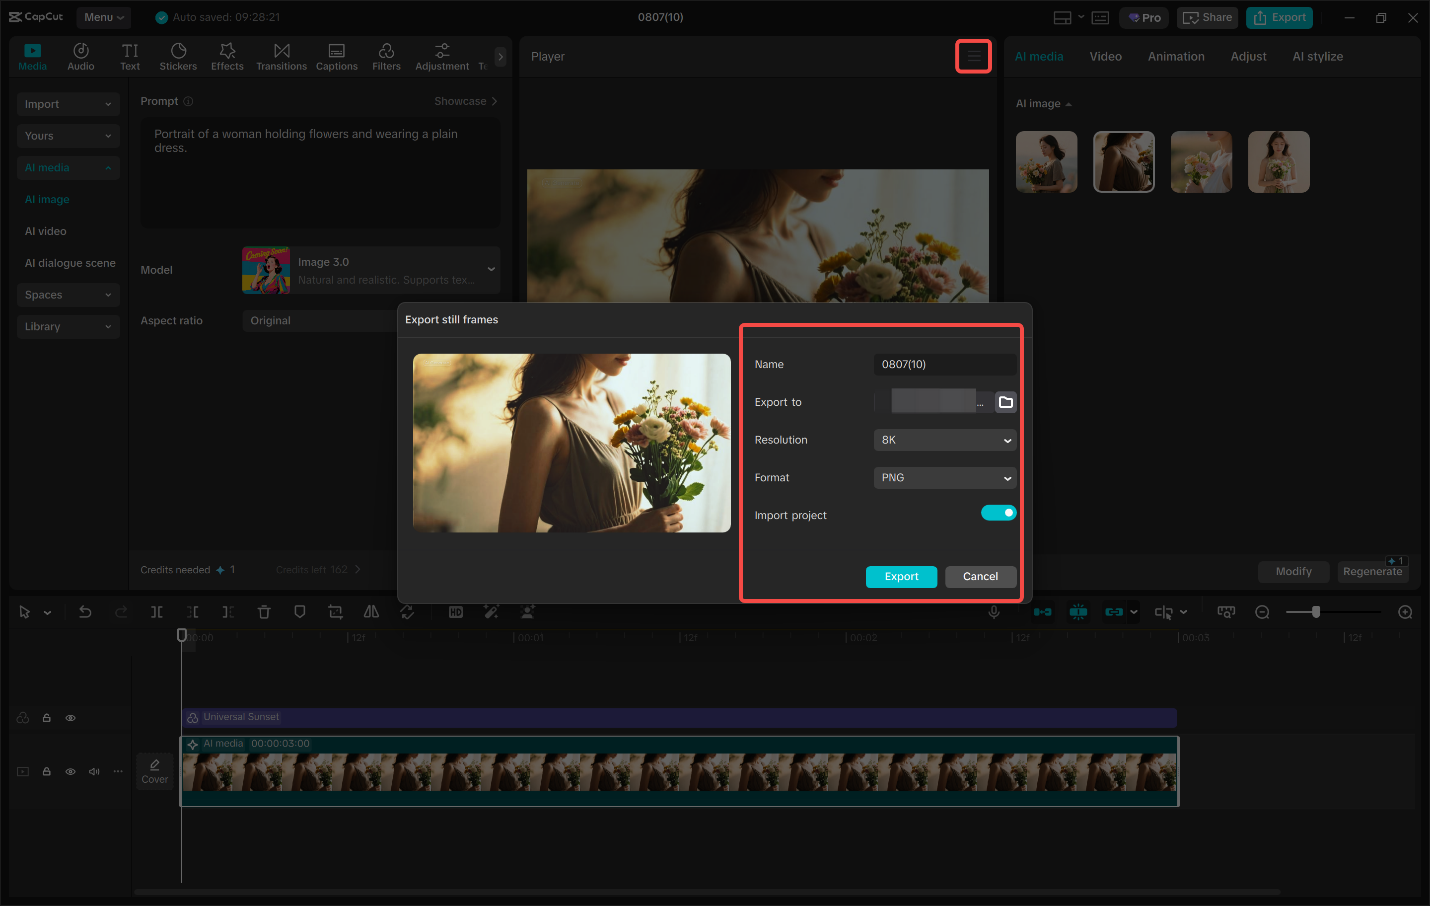
Step 5: Export and Share
When editing is complete, click “Export still frames” to finish. Set the desired resolution, frame rate, and output type. Save the final file and deliver it directly to your client. The result is high-quality content produced quickly and at minimal cost.
Conclusion
The use of AI-generated images in CapCut Desktop Video Editor is cost-effective and results in client projects being faster and simpler. You can create images that are to your client’s liking and brand without having to buy stock.
Remember, CapCut PC is free for basic usage, but some AI features or advanced features will cost you. Start using AI pics today to cut costs, boost your productivity, and avoid licensing disputes. Try doing your next client project completely with CapCut PC and see the difference it will make.