We’re always scavenging on social media searching for the newest trends and products that have people in a chokehold, and “underpainting” seems to be making a huge comeback as it has the girls searching for how to get the best glam look.
Granted, this trend has been around for a while as it’s not relatively new, it is making the rounds on social media with Gen-Zs and millennials and they’re eating it up.
[ad]
This new makeup technique has hit close to a 100 million views on social media for its ability to make makeup look more natural, sensual and appealing – courtesy of the new ‘minimalist’ wave that’s on going too. The girls now want a barely-there, au naturel finish to their makeup looks.
Now what is Underpainting?
Underpainting is a makeup technique that gives your makeup a smooth, flawless base that glows from within. The goal with this is to make your makeup look like good skin and not makeup.
It is a technique where you reverse the order in which you currently apply your makeup, that is, applying your face makeup (i.e concealer, contour and blush) first, underneath your foundation.
It was popularised by makeup artist, Mary Philips, as she tweaked the already existing trend, giving it a more modern approach. Her creations have been seen on faces of influential stars like Hailey Bieber, Kendall Jenner and Jennifer Lopez.
It’s like you are “laying down the bones under the skin. The bones being the contour and the highlight, and the skin being the foundation,” said Phillips in a video where she can be seen explaining her base routine.
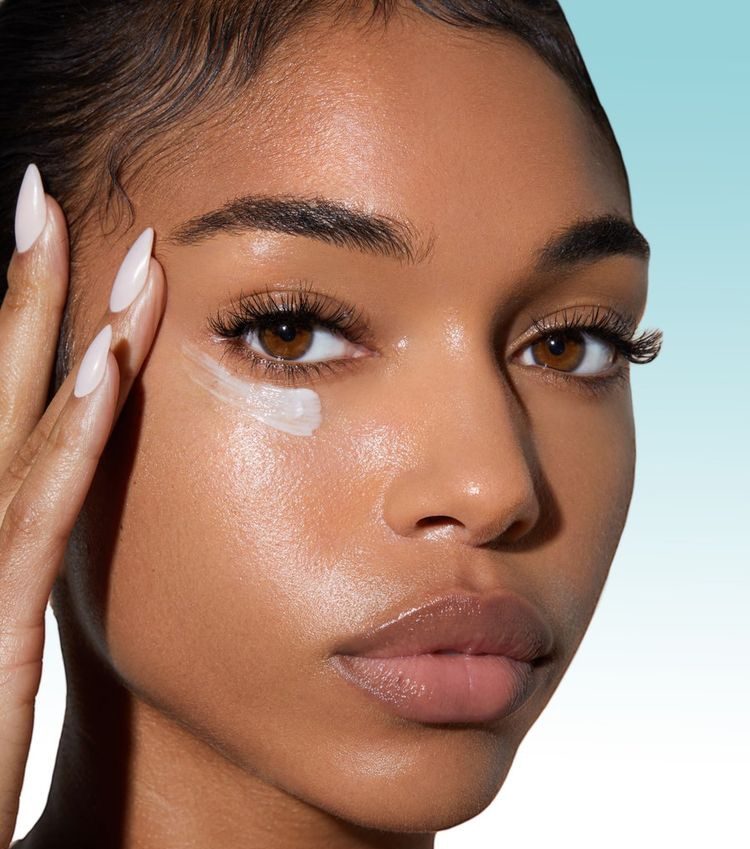
Step 1: Skin Prep
Before applying makeup to your skin, you want to make sure your skin is clean. You can ensure this by first cleansing your skin with a gentle cleanser that is suited to your skin type.
For dry skin – Choose a hydrating cleanser that won’t strip your skin of its essential oils, but will add moisture onto it.
For acne prone skin – Choose a cleanser that contains salicylic acid, benzoyl peroxide, glycolic acid, lactic acid or retinol. These acids are known to dry out breakouts and eradicate acne scars. Be sure to apply sunscreen as these acids can also cause skin sensitivity to the sun.
For oily skin – Choose a cleanser that contains ceramides, niacinamide, hyaluronic acid, glycerin and willow bark extract. These ingredients will regulate oil production, reduce any shininess to your skin and add on essential moisture that will make your skin thrive.
To avoid cakey makeup, ensure you buff away dead skin cells by using an exfoliating toner that will improve the texture of your skin, clear out dead skin cells, increase your skin’s radiance and make your skin look plump.
While this step is optional, you could use a serum to add some extra moisture, glow and suppleness to your skin. Depending on your skin type, you could opt for a hydrating and illuminating serum, or one that helps to control oil by minimising your pores, which will assist with the longevity of your makeup.
Last but not the least, apply a light moisturiser. Do not skip this step as it is one of the most important steps before makeup ever touches your face. Hydration is important to avoid patchy makeup.
Step 2: Concealer
Begin by spot-correcting with your concealer on areas of your skin that may need extra coverage due to hyperpigmentation or sunburns. Apply concealer underneath the eyes too to reduce the appearance of dark circles and brighten up the under eye by 1 – 2 shades.
Areas to target are under your eyes, chin, forehead, on top of your jawline.
You don’t need to apply too much product, just a little that gives enough coverage and blend blend blend!
Step 3: Contour
Apply a cream contour to your forehead, jawline, sides of your nose and below your cheekbones. This will give your face a sculpted finish.
If interested, apply highlighter atop cheekbones, middle of forehead and down the centre of your nose, then apply blush on cheeks. This will give your skin a rosy glow.
Step 4: Foundation
Finally, set your whole face by using a stippling brush to lightly blend your foundation into your skin. A stippling brush allows you to avoid mixing the contour and foundation together. The key is to apply foundation lightly so that the underlying colours can show.
[ad unit=2]