Looking to make your video pop with stunning visual effects? Well, applying a 3D LUT (Look-Up Table) is a great way to enhance colors, contrast, and overall mood in just a few simple steps.
It doesn’t matter if you want a cinematic vibe or want to give your footage a unique style; 3D LUTs are the perfect tool for this purpose.
In this guide, we will help you know how to apply a 3D LUT to your video for flawless results.
New to editing? Don’t worry—we will keep things simple and easy to follow so you can start creating amazing visuals right away!

Part 1: 3D LUTs: What Are Their Impacts On Video Editing?
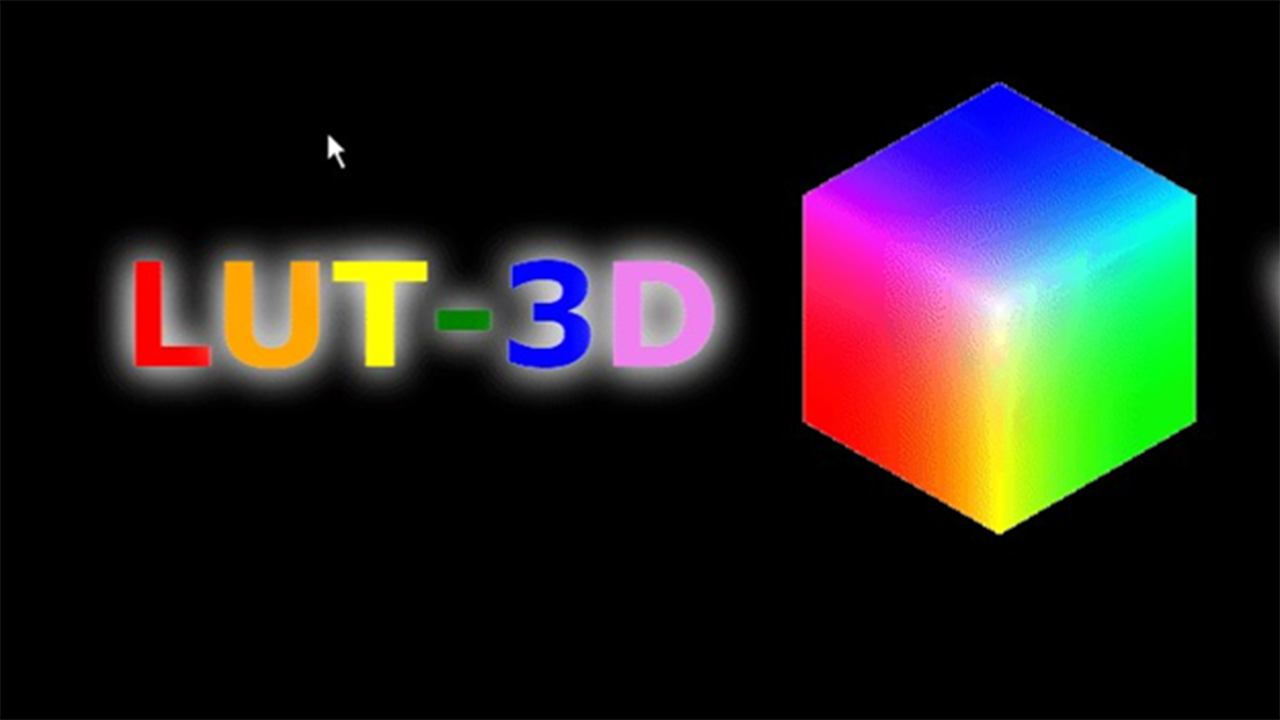
3D LUT (Look-Up Table) stands as an important video editing tool that enables users to modify and transform footage colors. With this tool, the video color data transforms into another set of colors according to a pre-established profile.
Using it, editors can easily control detailed color adjustments and brightness and contrast modifications of their videos, as it offers precise editing capabilities.
By applying 3D LUTs to your video, you will get multiple benefits to enhance the visual effects because they provide:
Consistent Color Grading: With this feature, your shots maintain consistent color grading.
Cinematic Looks: It is used to get professional cinematic aesthetics because they imitate movie color styles or particular visualizations for your video.
Efficient Color Correction: Your color correction becomes quicker through 3D LUTs since these tools automate the process that otherwise demands excessive manual adjustments.
Matching Footage: 3D LUTs help match the colors while making everything blend seamlessly if you are working with clips from different cameras or sources.
Therefore, video editors who use 3D LUTs get complete control and time efficiency and create professional, wow-factor outcomes.
Part 2: Get The Ideal Video Editor to Apply 3D LUT In Your Video!
As there are numerous video editors that offer a 3D LUT feature, it becomes quite confusing which one is the perfect choice to bring a creative vision to life. But you don’t need to go through this because we have brought a perfect solution for you, and it is known as Wondershare Filmora.
This software is ideal for both beginners and professionals who are looking to elevate their video editing game with easy-to-use yet powerful features. Plus, it shows amazing compatibility with devices such as Mac, Windows, Android, and iPhone. Filmora makes it quite simple to infuse your videos with stunning color grading while offering a seamless way to apply 3D LUT and other filters.
Sounds amazing, right? Let’s explore its key features to know what it brings to you:
Key Features of Wondershare Filmora:
800+ LUTs and Filters
You can effortlessly transform every frame into a vibrant masterpiece as Filmora offers a vast library of over 800 LUTs and filters. Whether you are looking for creative color grading, vintage styles, or advanced cinematic looks, you will get the perfect LUT to match your project’s mood.
Pro-Level Color Grading
It is easy to maintain the unique style of your video while enhancing its texture with its professional camera LUTs that help you preserve essential color and light information.
Enhanced Color Precision
Filmora uses advanced algorithms so that you can make precise adjustments to your video’s colors, such as deepening hues, removing specific colors, and refining highlights and shadows. This makes sure that your visuals stand out with incredible depth and realism.
Intuitive Navigation
Using Filmora, it becomes easy to navigate through an array of filter categories. You can get professional-level color grading without any complex parameter tweaks with just a click.
So, all in all, Wondershare Filmora 3D LUT provides you with everything that is required to create stunning, color-graded videos with no effort.
Part 3: Top 3D LUT You Will Get Using Wondershare Filmora!
Now that you are familiar with Filmora, let’s discuss what are the best 3D LUTs you can opt for to get visually appealing video. Here these are:
Moody 03: To add a pinkish tone to your video, creating a warm and romantic ambiance, this one is perfect for you. It helps you catch the emotions, creating a soft, dreamy vibe, especially when you want the pink hues to stand out.
Green Orange: If you want to give autumn scenes and provide a vintage and nostalgic feel to your video, try these green and orange tones. It is perfect to transform ordinary footage into something poignant and nostalgic.
Movie 2: With this, you can give your video a cinematic, vintage aesthetic while fading colors and adding a touch of green. It can be a great choice for achieving a classic, film-style look.
Vibrant Film: If you are looking to enhance the colors in your video and create an eye-catching, lively vibe, opt for the Vibrant Film option. With this, you can easily generate an energetic mood.
Infrared Film: Inspired by infrared film, this option introduces striking pink hues that give your video a unique, romantic tone.
Stuck in the Dirt: Want to add a warm, brownish hue for rustic and outdoor scenes that evoke nostalgia and rugged charm? Well, go for the Stuck in the Dirt filter.
Cyberpunk 1: To create a futuristic, sci-fi, or night-time city vibe, you can select Cyberpunk 1 which provides your video with neon pink and blue tones.
Red Brown: Looking for the earthy tones? So the Red Brown filter is perfect for fall or rustic-themed videos, giving them a warm, natural feel.
Cinematic Two: You can add a professional, movie-like finish, perfect for a high-quality, cinematic look with this filter.
Contrasted Film: This option will help you increase contrast and highlight greenish tones, making it ideal for vivid outdoor scenes.
Part 4: Wondearshre Filmora: Know How Easy It Is To Use?
Hope now you understand how unique features are available for 3D LUT using Filmora. To make you more familiar with this software, we are providing its step-by-step guide, where you will get to know how easy it is to use.
A step-by-step guide:
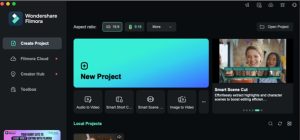
Step 1: First, download Wondershare Filmora video editor for mac and install it. Once done, click on its icon to option it and navigate to Create Project > New Project.
Step 2: Tap the Import option to get the video into the software to make changes.
Step 3: Select the video and click on the Open option to continue.
Step 4: Drag and drop the video into the timeline.
Step 5: Select the video in the timeline, navigate to the Color > Basic option, and scroll down to find the LUT option. After that, toggle it on.
Step 6: In the Lut Preset option, select the one you require.
Step 7: You can also adjust the settings such as Strengths and Protect Skin Tones as per your preference.
Once done with your editing task, click on the Export option that appears at the top right side of the window to save the changes.
Step 8: Again, a pop-up window will appear where you can change the format, resolution, quality, and frame rate as per your need. To finalize the changes, tap on the Export option.
Conclusion
It is worth saying that the 3D LUT feature creates wonders for the visuals of the video.
It gives you a mood and creates an environment that helps content creators to get audience engagement. However, opting for the right software is also important, and the outcome depends on it. Therefore, Wondershare Filmora comes in handy. It offers a user-friendly interface with advanced features that are beneficial for creating professional videos in no time.
So, what are you waiting for? Visit its official website today and explore what it has to offer you!