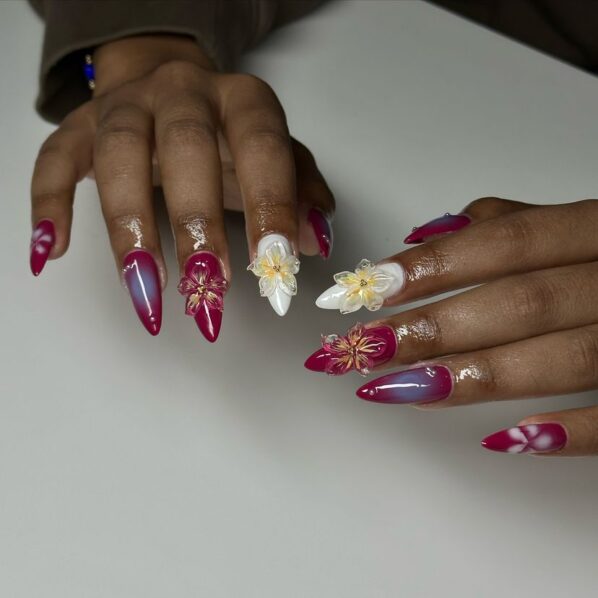
Almost every woman has had acrylic nails at one point or the other in her life. Not only are they beautiful to see, but they’re also an incredibly popular beauty trend that tons of women are committed to. While acrylic nails can be a sight to see, they can also be a bit of a challenge to remove.
[ad]
Most women seek the help of their nail technicians to not only fix their nails but to take them off when they’ve run their course. But with the increase in prices of beauty treatments, acrylic nails included, it is time to learn how to do certain beauty tips and tricks yourself. No knowledge is lost at the end of the day. Plus, you get to save your money and cut back on spending.
Here’s a step-by-step guide on how you can safely remove your acrylic nails at home without causing any damage to your natural nails.
What you’ll need
The first step is to gather all the items you’ll need to start the removal process. They are:
1. Acetone (100% pure acetone works best)
2. Petroleum jelly
3. Nail clippers
4. Nail buffer or file
5. Aluminium foil
6. Warm water
7. Bowl
8. Cotton balls
9. Hand moisturiser or cuticle oil
[ad]
Step-by-step instructions

Step 1: Trim the acrylic nails
Start by using your nail clippers to trim your acrylic nails as short as possible without cutting your natural nails. This will make the removal process easier.
Step 2: File the surface
Gently file the surface layer of the acrylics. This allows the seal at the top to break, making it easier for the acetone to penetrate and work better.
Step 3: Protect your skin
Apply a layer of petroleum jelly around your nails. Doing this will protect your skin from the drying effects of acetone.
[ad]
Step 4: Soak in acetone
Proceed to soak a cotton ball in acetone and place it on each nail. To keep the cotton ball in place, you can wrap each nail with a small piece of aluminum foil. Let your nails soak in this step for 10 – 20 minutes. This also creates warmth, letting the acetone work better.
Step 5: Remove the foil and cotton ball
After letting the acetone soak for some minutes, gently remove the foil and cotton balls from each nail. At this stage, the acrylics should easily come off. But if not, you can still do step 4 and let it sit for another 5 – 10 minutes. Use a cuticle pusher to scrape off any acrylic residue.
READ ALSO: Aura Nails – The Beauty Trend That Is All About Your Energy
Step 6: Buff your nails
Once you’ve gotten all the acrylics out, use a nail buffer to smooth out rough spots on your nails. After this, use a nail filler to shape your nails to your taste and liking.
Step 7: Moisturise
Acetone has a drying effect so you should wash your hands to get the smell off, and use a rich hand moisturiser. In the absence of one, you can always use your body moisturiser or cuticle oil. Doing this will add moisture to your hands and not make them look ashy and dry.
[ad]


